December 27 2020, Monday
Building an E-Ink Calendar, and a UI Toolkit along the way
Having worked from home for the better part of the year, I recently started to work on a new project. Building a E-Ink based dashboard which would keep track of my meetings among other things. Given the always-on nature of the E-Ink display, this would help me better manage by schedule during a typical work-day especially given I tend to miss Google Calendar notifications a lot.
This is what the end result looks like:
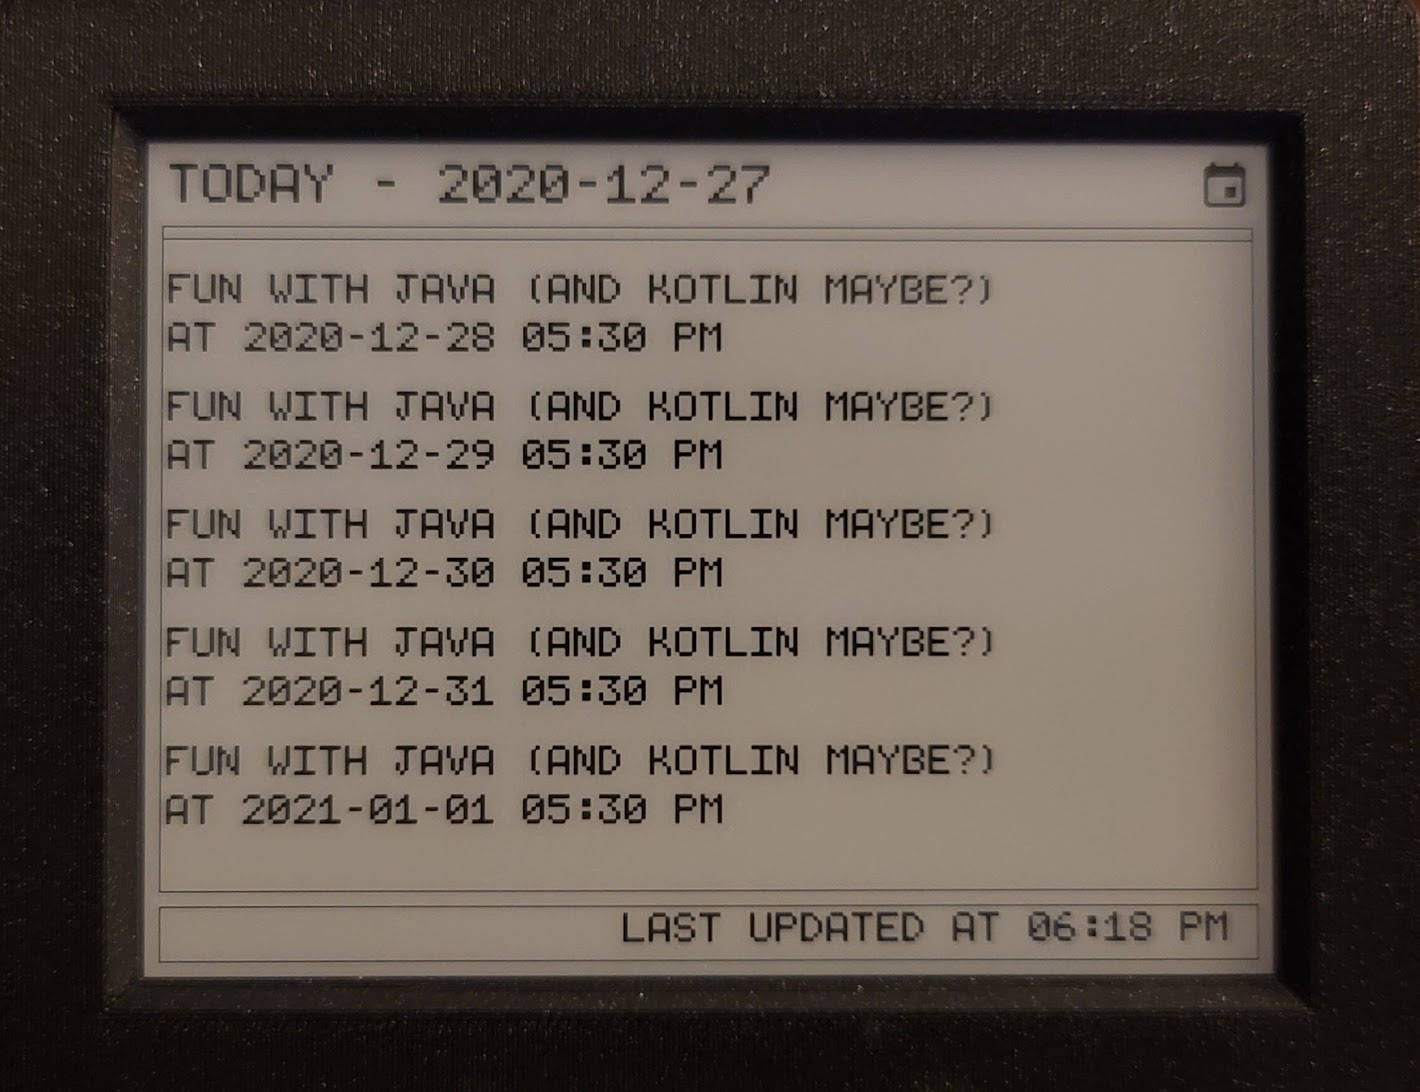
The app here is showing the next 5 Calendar events for a demo Google account.
Looks nice and simple, does it not ?
The Hardware
I took an off-the-shelf approach for the hardware. I purchased an InkPlate 6 which was originally crowd-funded on CrowdSupply.
The E-Ink display is from a recycled Kindle e-reader, which means its a pretty great display. It has 2 modes including a 2-bit per pixel gray-scale mode and monochrome. It supports partial updates in monochrome mode. The display is connected to a ESP 32, with built-in WiFi. All we need to do is to hookup the display to a PC via a USB cable and power it on. The display also comes with a nice 3D printed enclosure.
The Software
The InkPlate 6 supports MicroPython, and recently the libraries powering the display were opensourced. This gave me a decent foundation to build on top-of.
OAuth2 support
The first step to showing events from Google Calendar is to be able to complete an OAuth2 flow. I decided to use the device flow given the limited input capabilities of the ESP 32.
MicroPython does not have any libraries that work with OAuth2, so I decided to write one. Here is the PR that I eventually made to the micropython-lib GitHub repo which adds support for this specification. This ended up being pretty straightforward, given my familiarity with OAuth2 (having authored this library before).
Building a limited UI-Toolkit
The InkPlate has a decent Graphics API, but rather than having to hard-code coordinates to render UI i decided to take minor detour and build a mini UI Toolkit from first principles based on the graphics primitives that were supported. I took a lot of inspiration from the existing Android UI View system and build a small subset of those APIs.
Measuring text
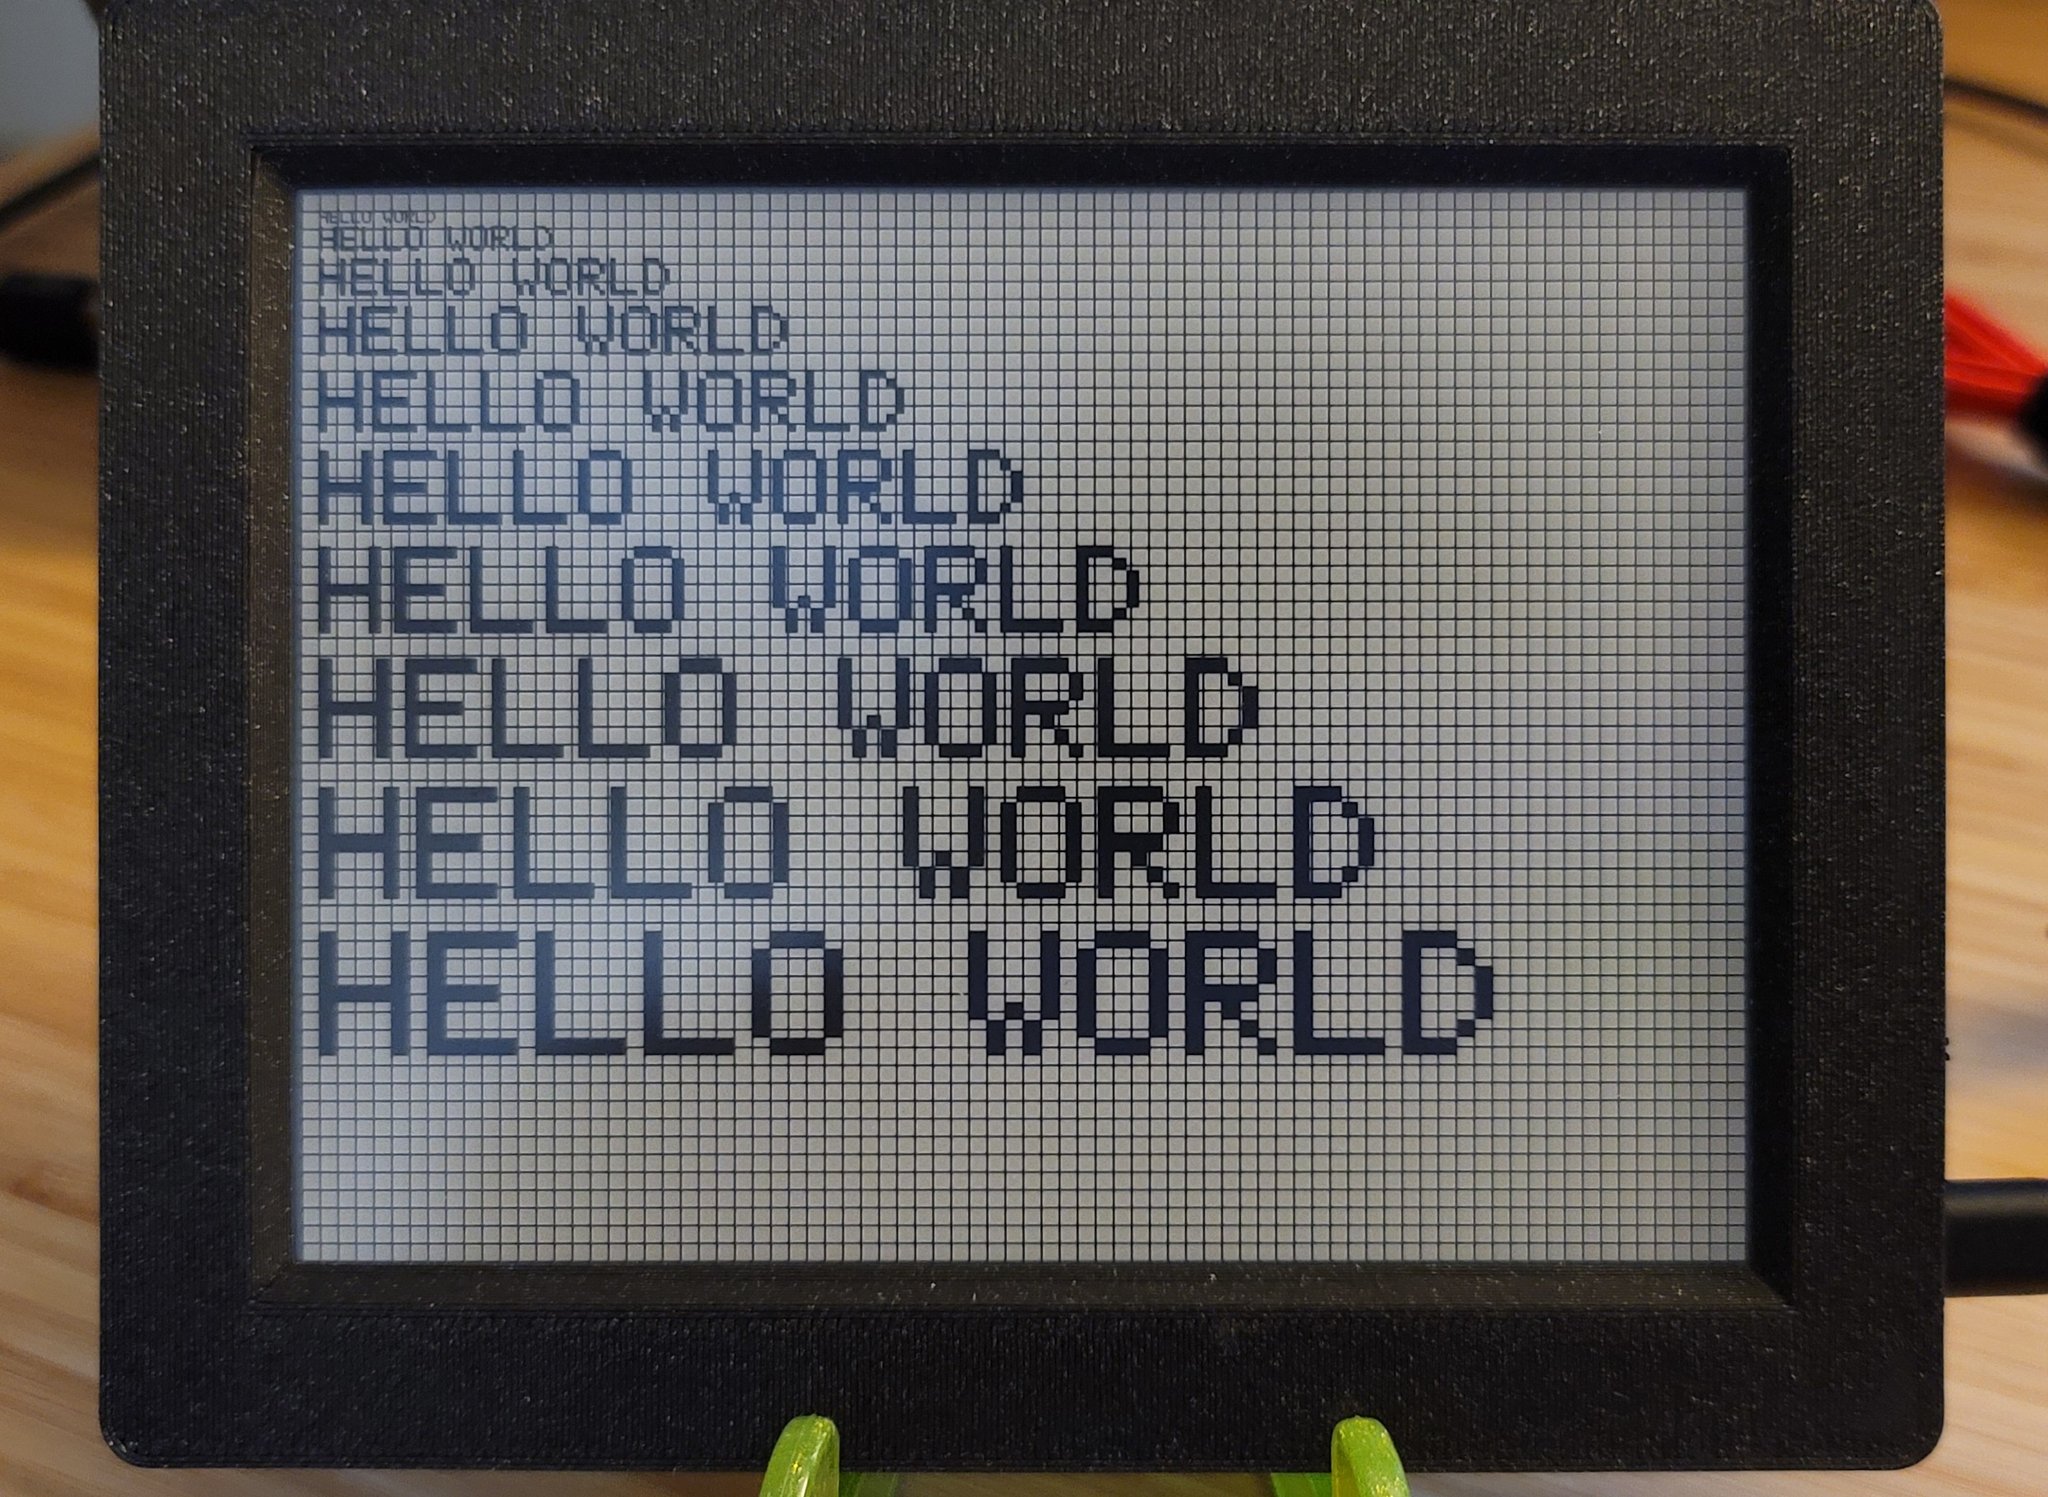
The first step was to be able to measure the text to be able to compute how much space text with a given text size would occupy on the screen. The InkPlate uses bitmap fonts, so i ended up using a look-up-table for widths and heights for individual letters for a given size. It's an approximation, but it worked well enough for me to proceed to the next step.
Columns, Alignment and Padding
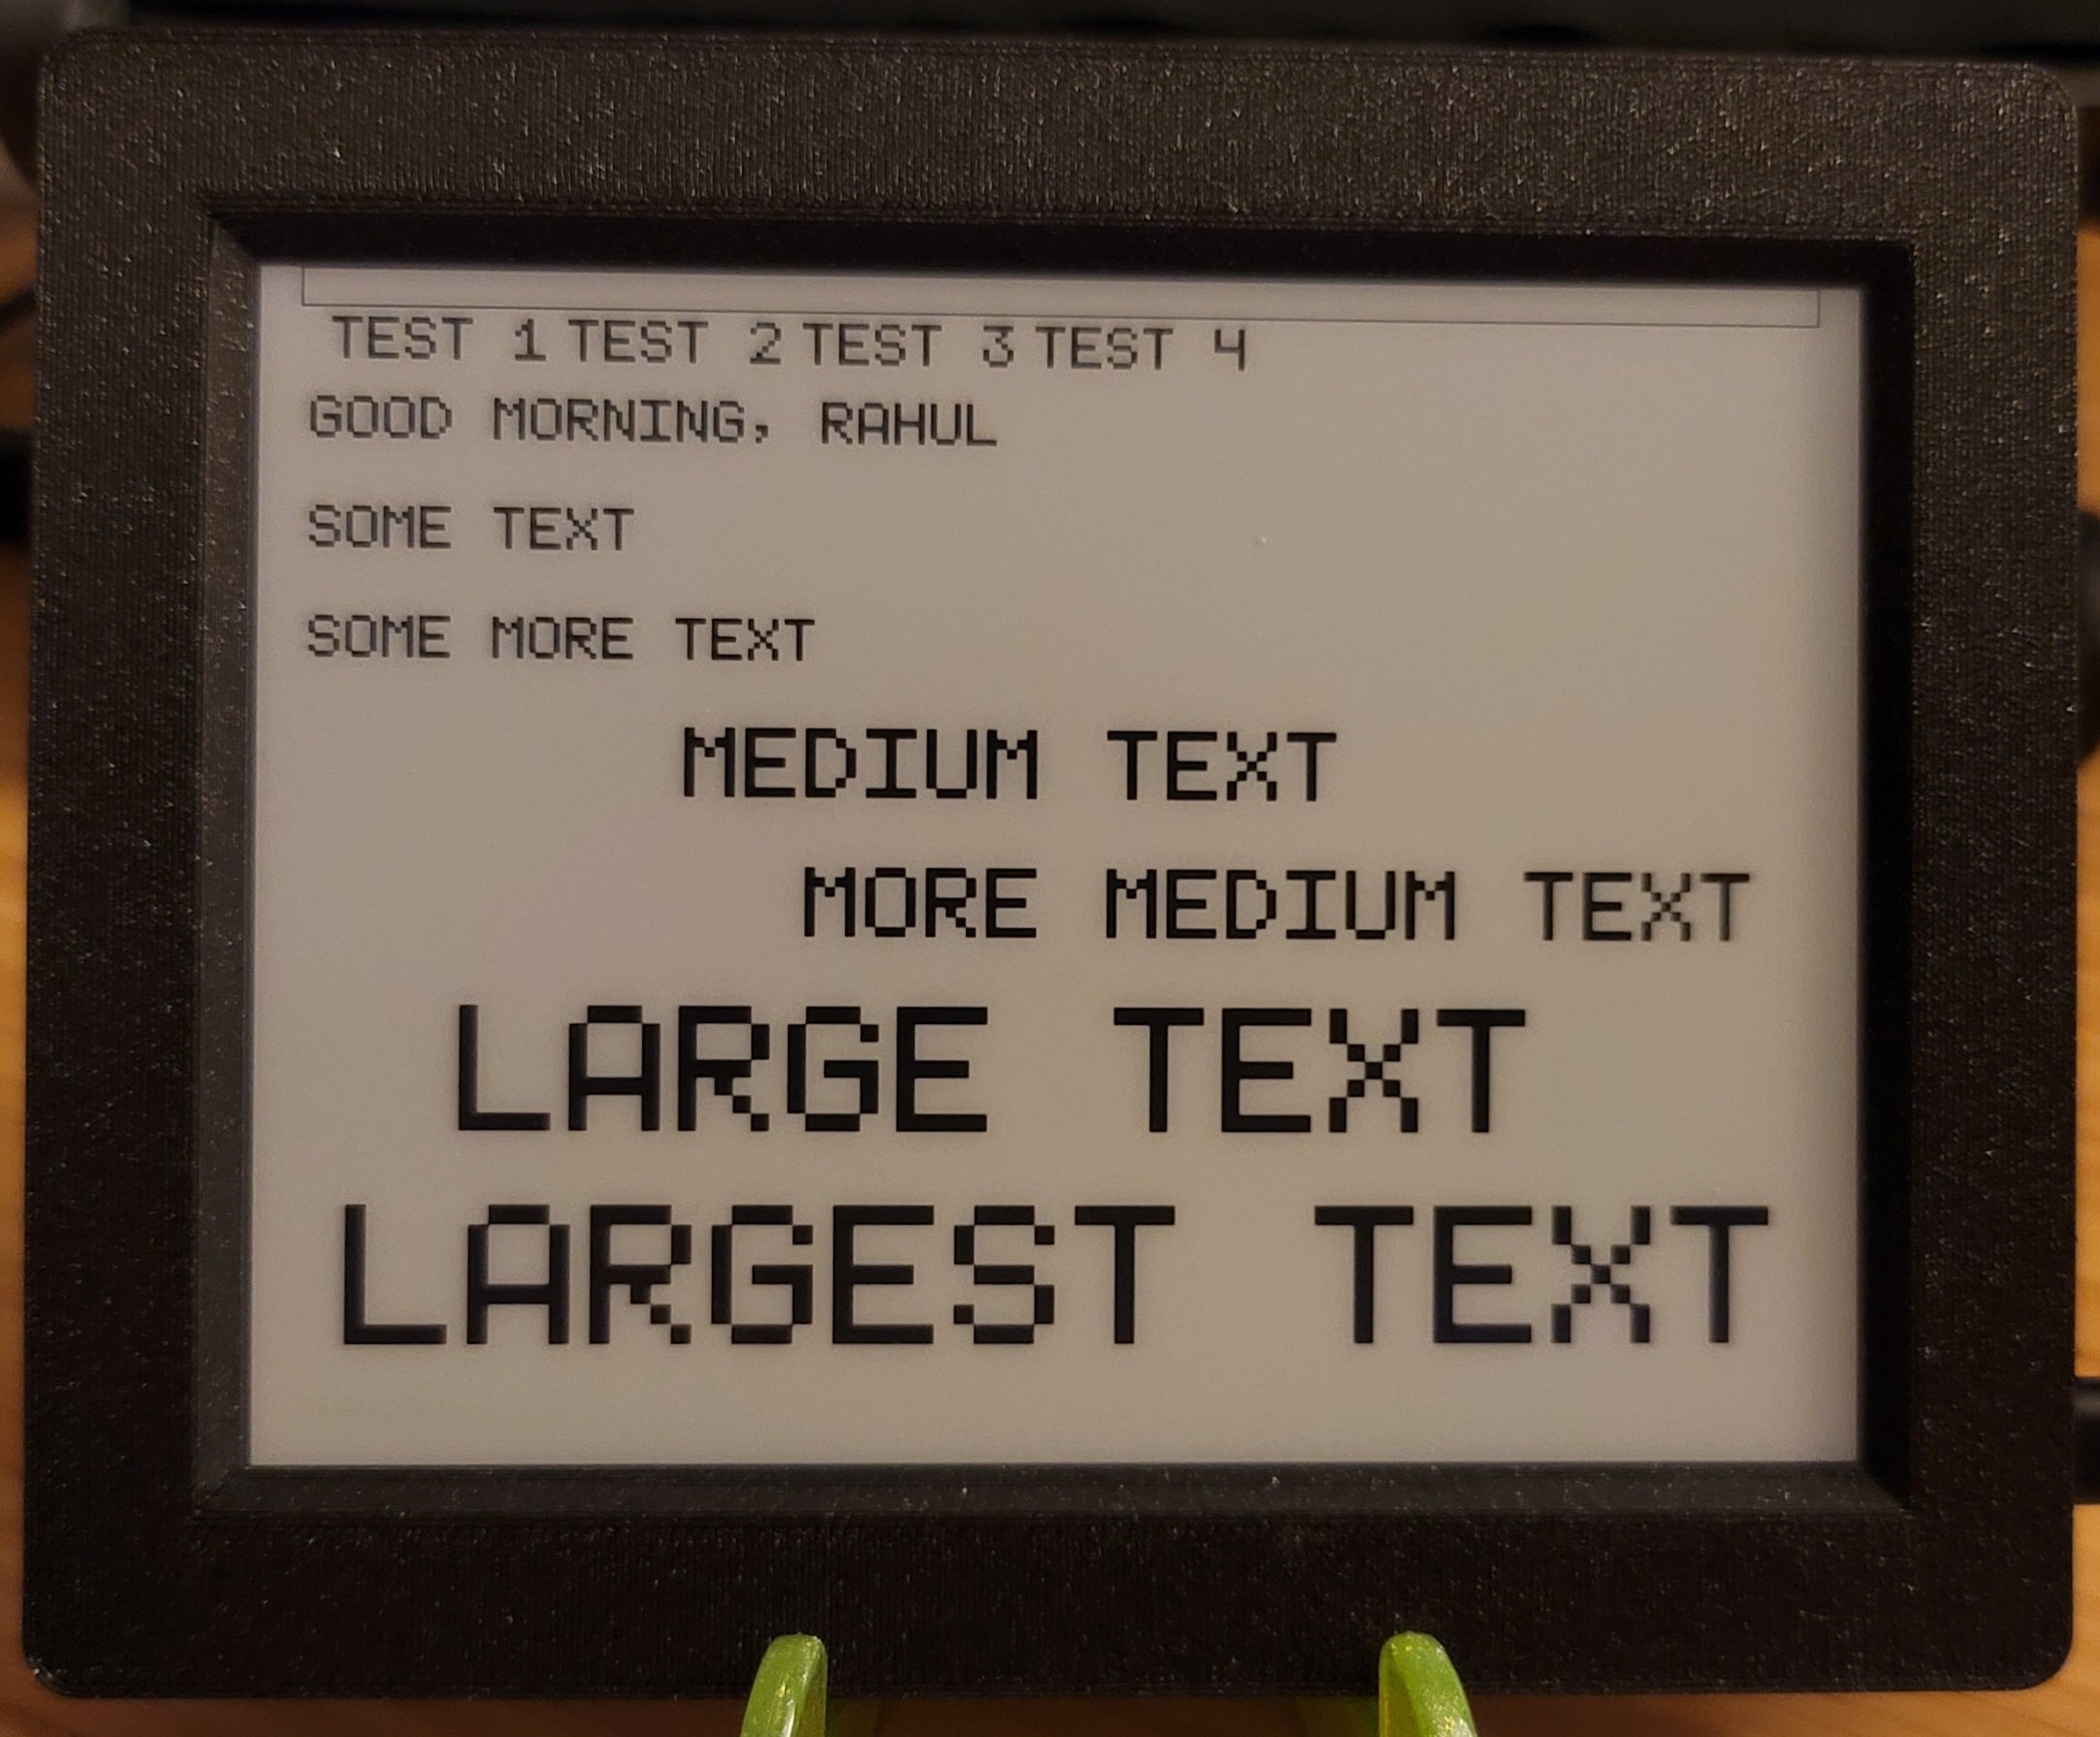
Now that I had text measurements I could start drawing some text in Columns and Rows (these are the containers supported by the custom layout system). I managed to also implement padding and text alignments. Not perfect, but still pretty good progress.
The image below consists of a single Column with a nested Row and a bunch of Text nodes in various alignments and sizes. The 10px box on top is a component called Spacer which just occupies empty space on the screen.
Columnar Layouts and alignments
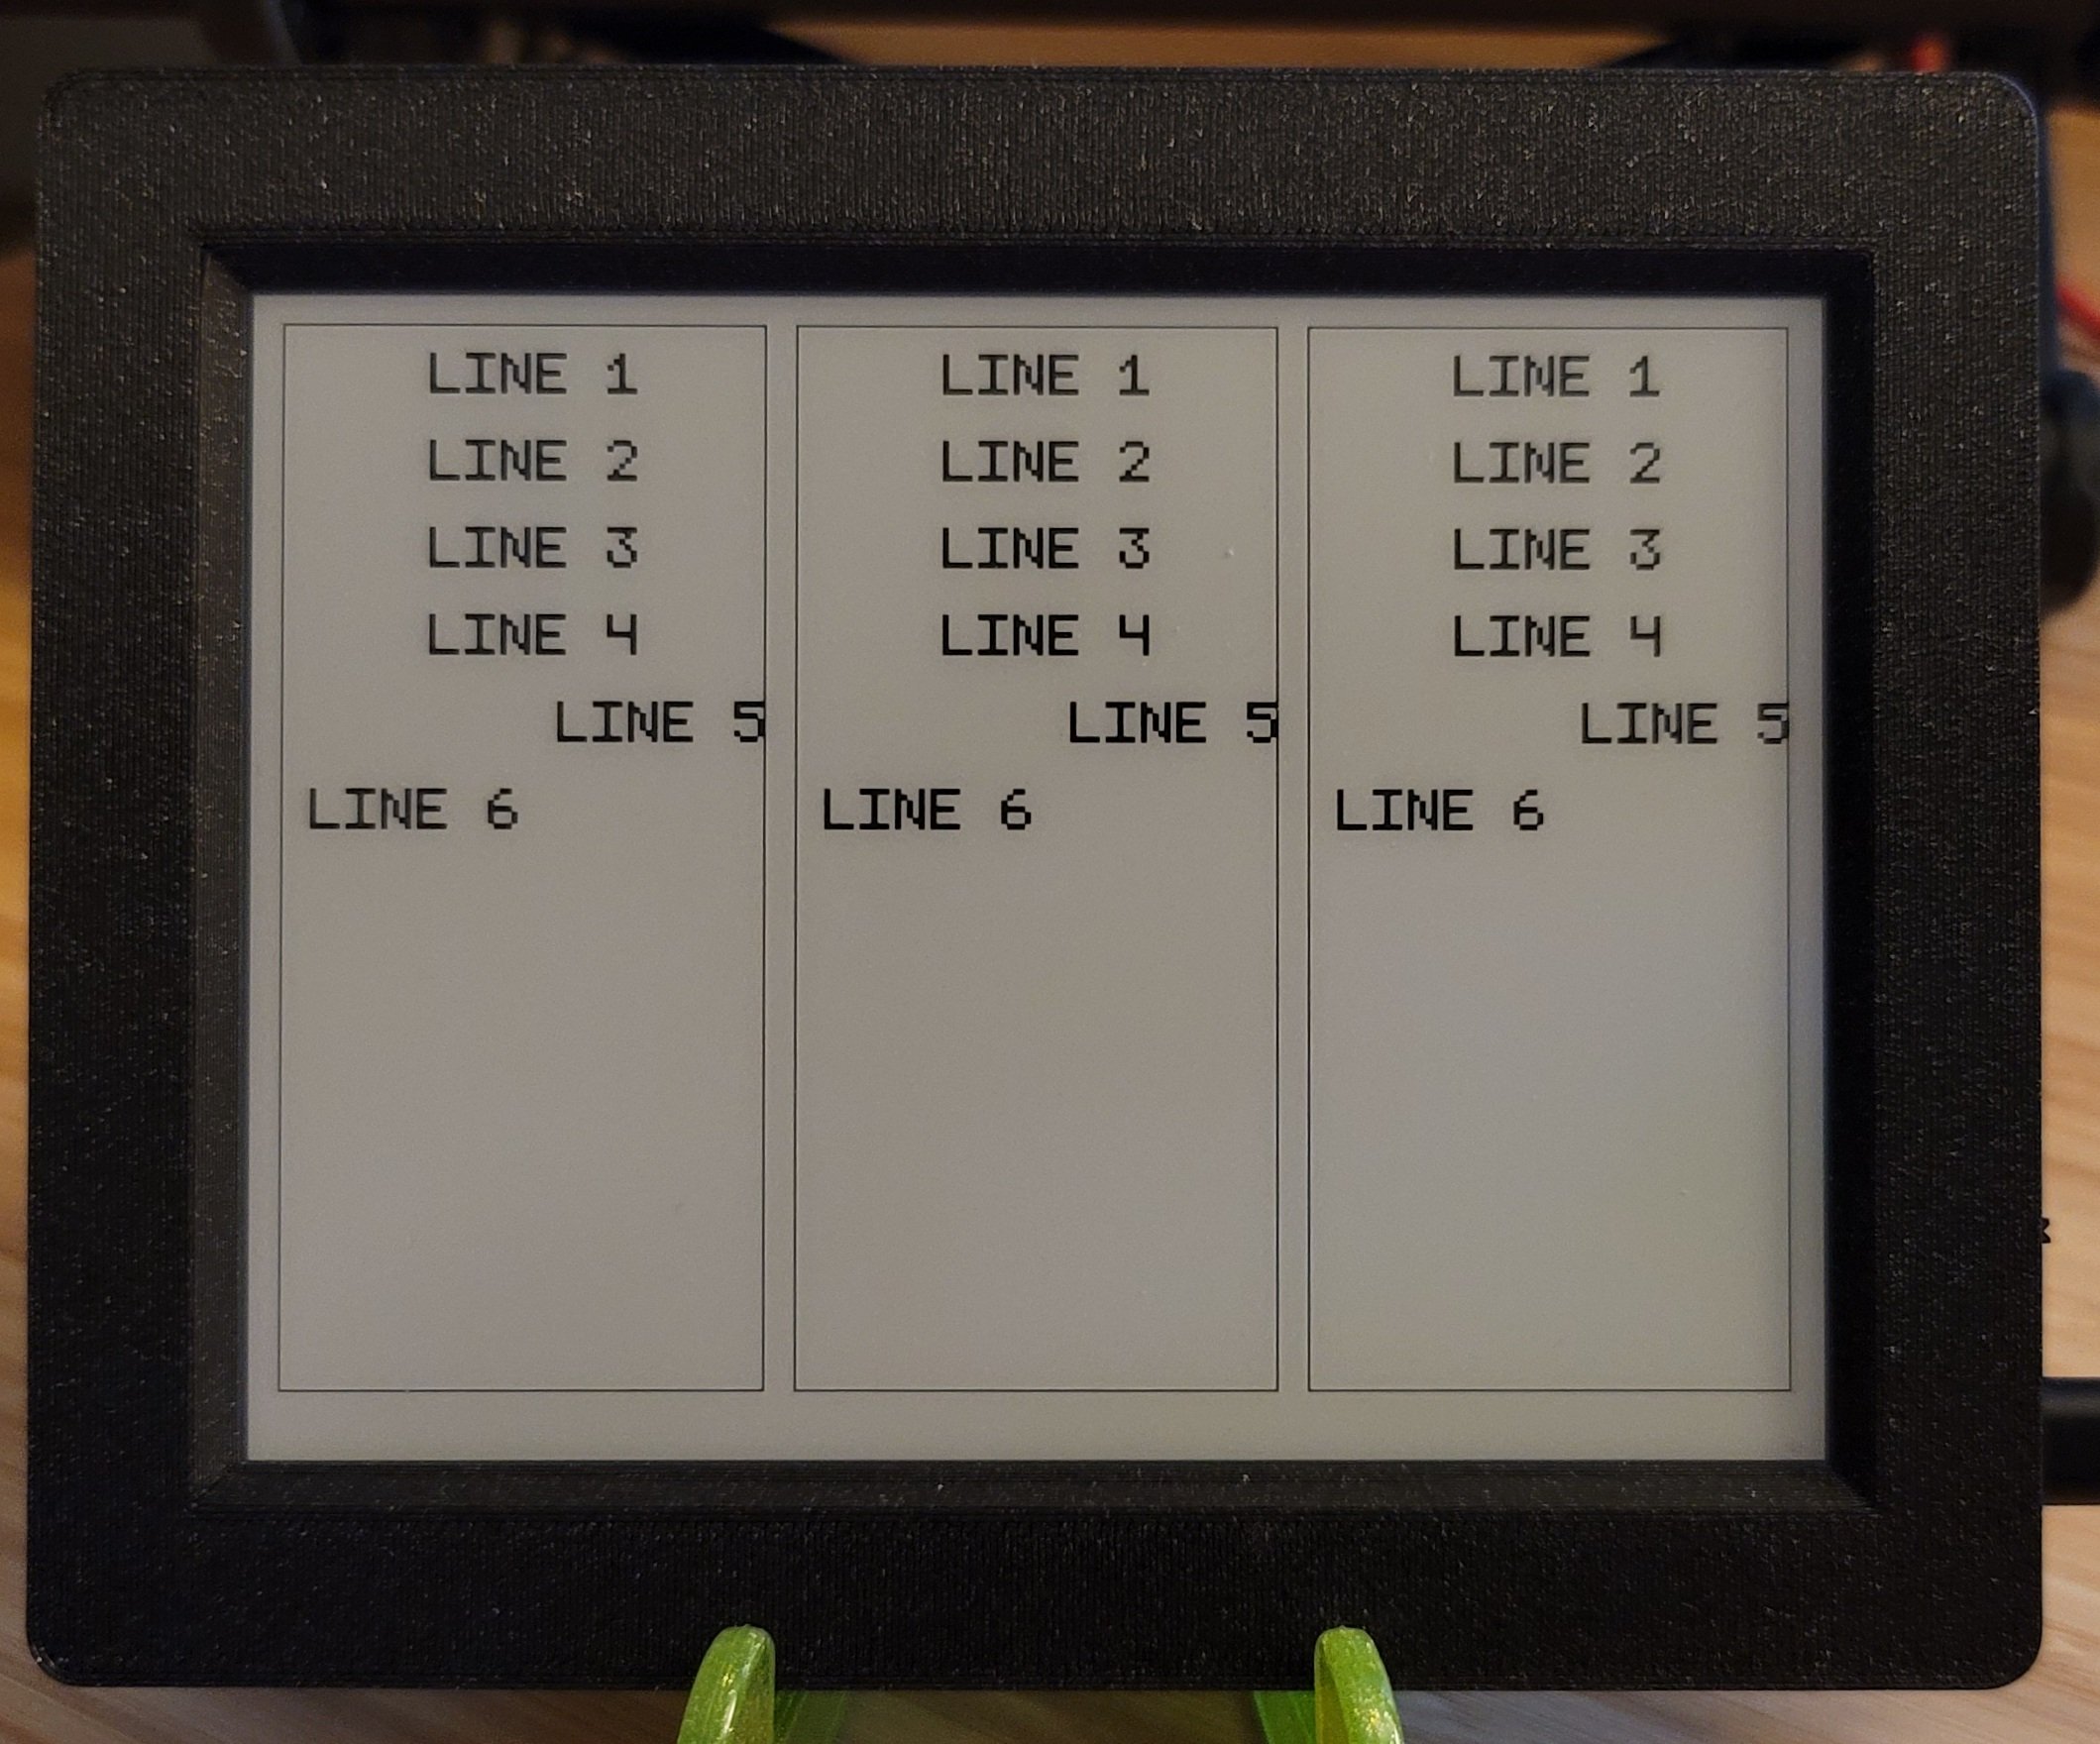
Now that I had some basic building blocks, I decided to go further and implement more complex layouts. I implemented support for aligning containers and fixed a lot of bugs when nesting containers. You can also see text alignments within individual Column containers working.
Supporting Images
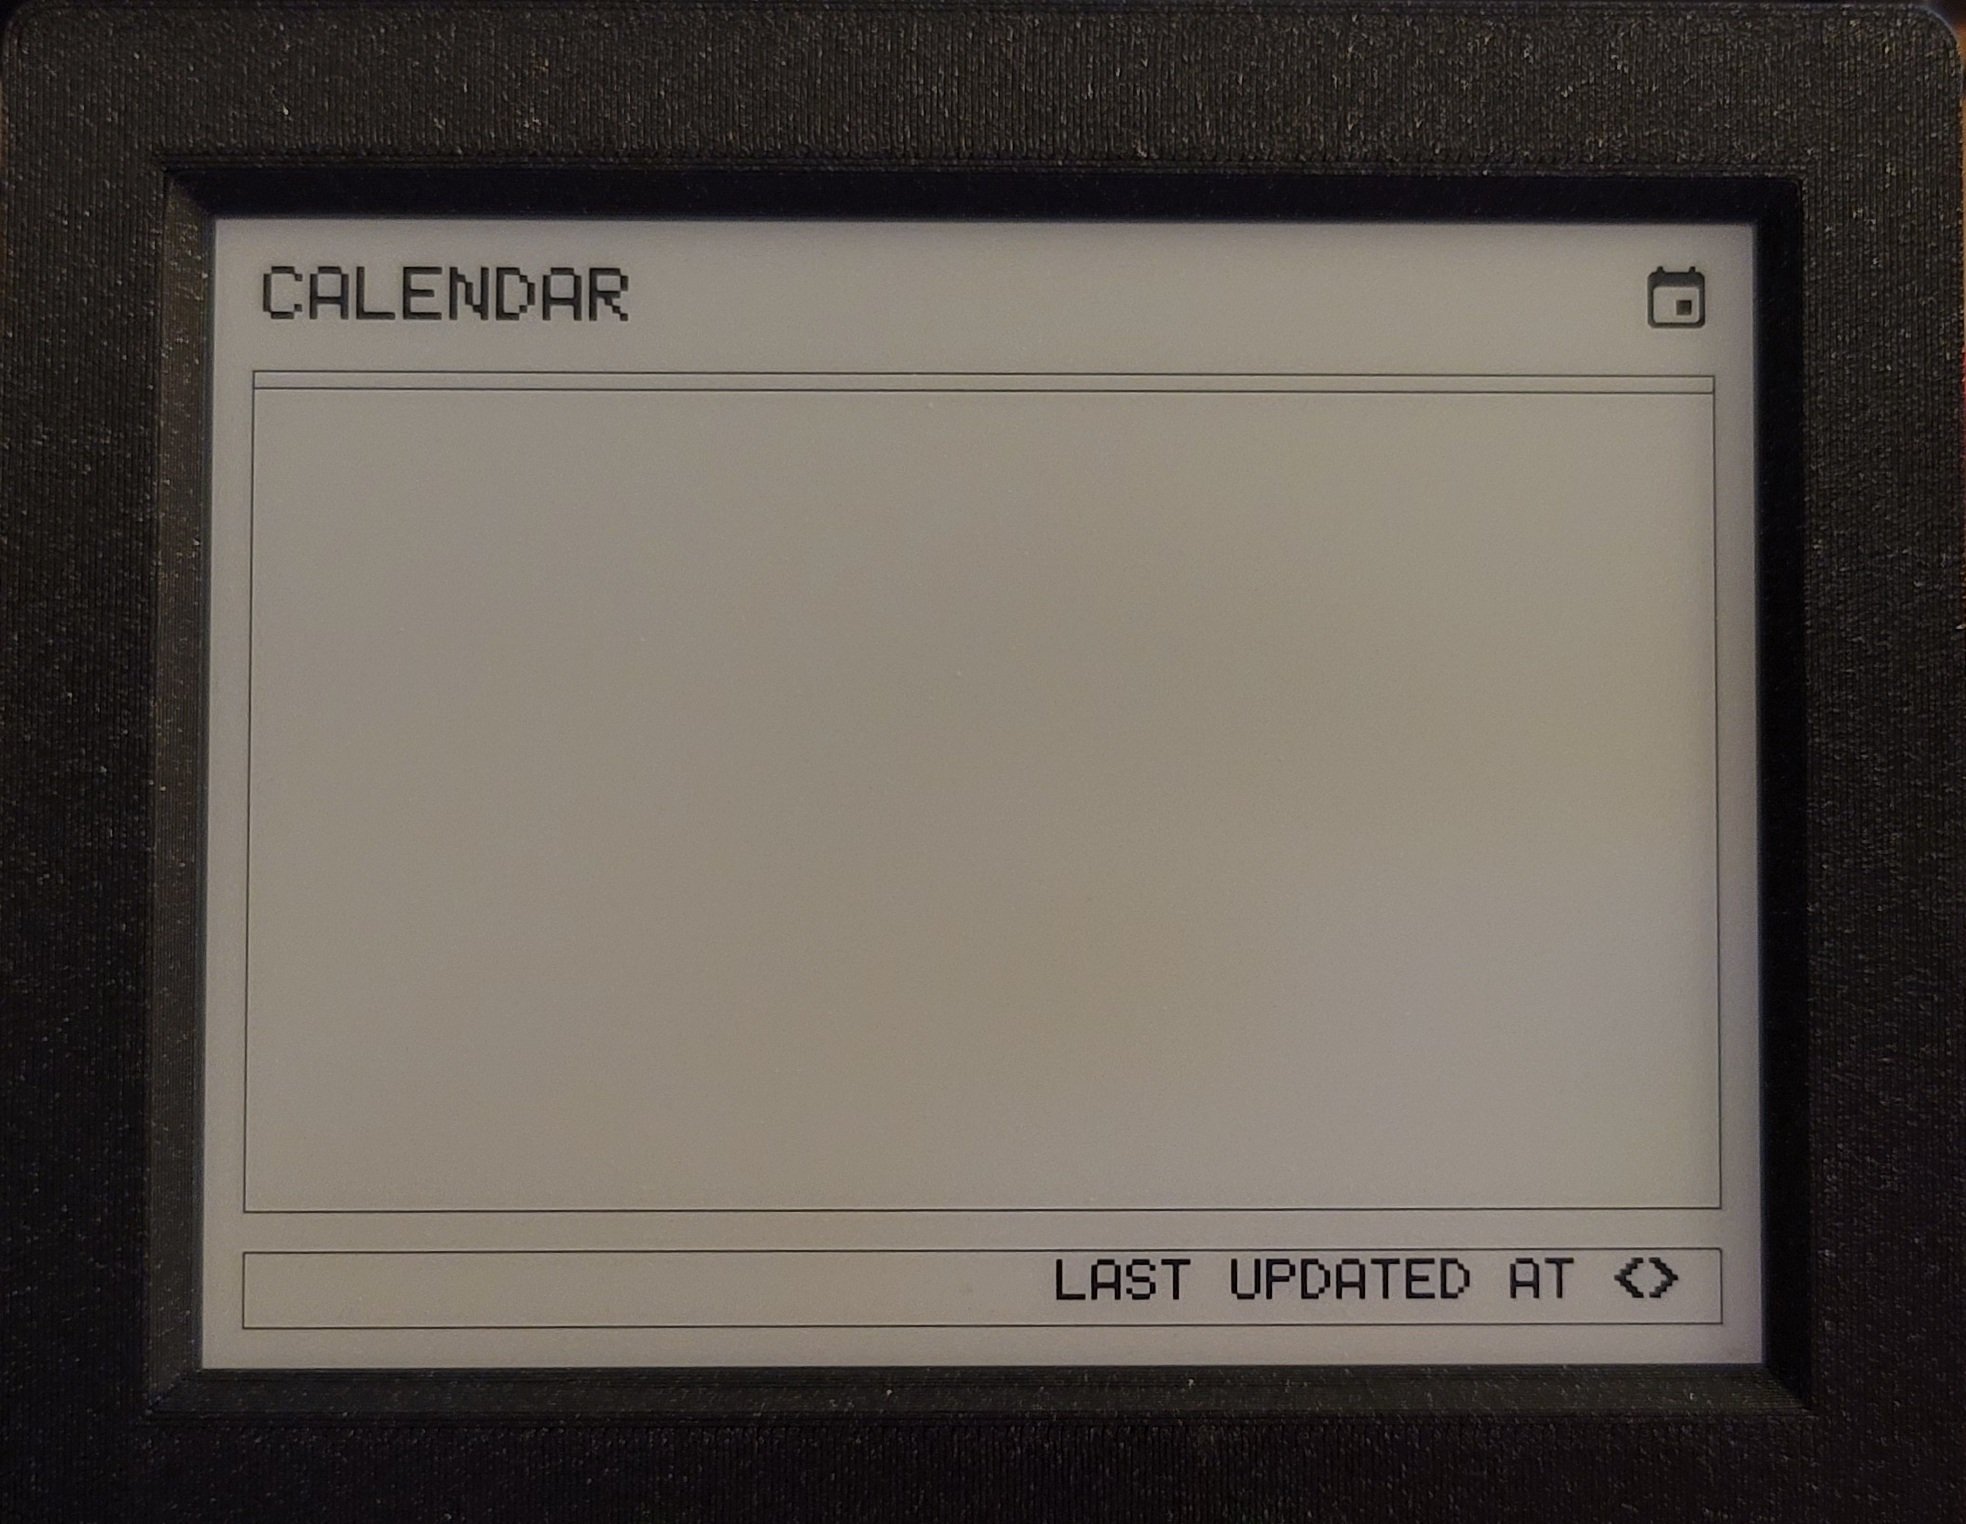
I finally added support for Image nodes to layouts. This is also when I started to add some much needed UI polish.
Miscellaneous Features
I also worked on other additional features along the way, including:
- Support & configuration for time zones. The MicroPython runtime on the ESP 32 does not ship with a Time Zone database and the real time clocks only support UTC seconds after epoch.
- Support for token caching & persistence. This was a big feature because this would mean that I could serialize the
auth stateon the device. This meant that I did not have to do the fullOAuth2dance every single time I started the app. - A small
DateTimelibrary capable of formatting dates in a couple of different formats. - Support for
Deep Sleep. This would allow the device to conserve power by not having to do anything. The device would only wake up once everyNminutes to refresh the events in theCalendar.
Summary
This project was a lot of fun. I learnt a lot, especially given that I did not intend to build a UI Toolkit when I started working on the project). The toolkit i built is janky, but it is an accomplishment, considering I have never built one before.
MicroPython was incredible to prototype with (despite lacking a graphical debugger). I would highly recommending picking up a board that supports MicroPython for your next hardware project. The MicroPython community (libraries + forums) is also pretty active and helpful
Epilogue
All the source code that I wrote for the project is on GitHub. The entry point is a file called app.py. Bear in mind, that all of this code was written in ~ a week long period. I also plan on making some more minor improvements to the UI.